I'm making a set of challenge coins — cut in brass on a Makera Z1 desktop CNC. The catch: Makera Studio, the CAD/CAM software for it, is Windows-only, my desktop is Fedora, and for extra difficulty everything I do lives inside a rootless Podman container. This post documents getting it all working, and the slightly unhinged part where I let Claude drive the software for me.
Why coins, anyway
Two reasons. The first is honest: I have a new toy — sorry, tool — and a challenge coin set is a tangible project with enough hard constraints to find out what it can really do: legends at the limit of a 0.5 mm cutter, two-sided registration, a decorative edge.
The second is a longer game. I wanted to have a go at making the kind of thing I'd like to receive: long-service recognition made with actual care — a coin with your years on it, cut in brass. This set is my proof of concept for that idea. To be clear: this is a personal project, not an official NCC Group anything — nothing here is sanctioned, approved, or endorsed. If the proof of concept earns that conversation one day, wonderful. If not, I still have a very over-engineered paperweight collection.
Makera Studio under Wine
The install itself is boring, which is the highest compliment you can pay Wine in 2026: WineHQ stable 11, a dedicated prefix, run the Inno Setup installer. Three things need fixing before it's actually usable, and none of them tell you what's wrong:
OpenCL. The Devices tab renders the machine preview with OpenCL and exits without a dialog if no platform exists. The fix is an ICD for your GPU plus WINEDLLOVERRIDES="opencl=b", because the app bundles a Windows OpenCL loader that searches a registry with nothing in it.
Login. Auth0 redirects to a makera-studio:// URL scheme. My browser lives on the host; the app lives in a container. The fix is a host-side URL handler that drops the callback into a shared folder, and a watcher inside the container that forwards it to the app's single-instance socket. Login is now click-and-done, which feels undeserved.
DPI. Set LogPixels to 192 in the prefix registry or the file dialogs render at postage-stamp size on a HiDPI screen.
The robot machinist
Here's where it gets silly.
Important note - I did the CAM properly myself first. I dutifully clicked my way through the wizard by hand, set the stock, generated and previewed the toolpaths, so I knew exactly what a correct run looked like.
Then, since I've been using Claude Code recently, I asked it to do the same job by driving Makera Studio directly: create the project; set the brass stock; import the STL; pick tools; generate tool-paths; run the simulation. With my manual run (and screen capture) as the reference for whether or not it got things right.
First attempt: xdotool against my normal desktop session. This half-works, which is worse than not working. Wayland arbitrates focus, so synthetic clicks vanish depending on which window the compositor last blessed and every click it did deliver was fighting me for my own mouse. Frustrating!
The fix is an older technology that I've run into a few times before: Xephyr. The app runs inside a nested X server at 192 DPI that appears as one window on my desktop. I can watch it, and click in it when I want but the agent's input goes to the nested display only, with plain X11 focus semantics. Clicks became deterministic the moment the compositor left the conversation. The AI screenshots the whole nested root, crops with PIL to read state, clicks by root coordinates, and records the toolpath simulations with ffmpeg's x11grab pointed at the nested display.
Things Makera Studio doesn't tell you
The tool naming will hurt you exactly once: 3.175*1.5*6mm is a 1.5 mm cutter on a 1/8" shank, not a 3.175 mm cutter. Selecting it for facing turns a three-minute pass into an hour. While I'm sure this is common sense to machinists (and I hope to gain that intuition in time), it confused me a lot when looking at the generated toolpaths.
The guided relief wizard is genuinely good (at least for someone with a rough understanding of the additive and subtractive machining processes) - machine, collet, stock material and dimensions persist between projects, and the generated rough/finish/engrave chain is sensible.
The tool library is a SQLite database in AppData. The stock metal library bottoms out at a 1.0 mm ball nose so the 0.5 mm ball nose finishing tool this coin needed went in as an INSERT statement with per-material feeds copied from a sibling tool. It shows up in the UI like it's always been there. I suspect this is going to be helpful in future as it gives a less token intensive way of interrogating feeds/speeds and bit configurations than multiple screenshots.
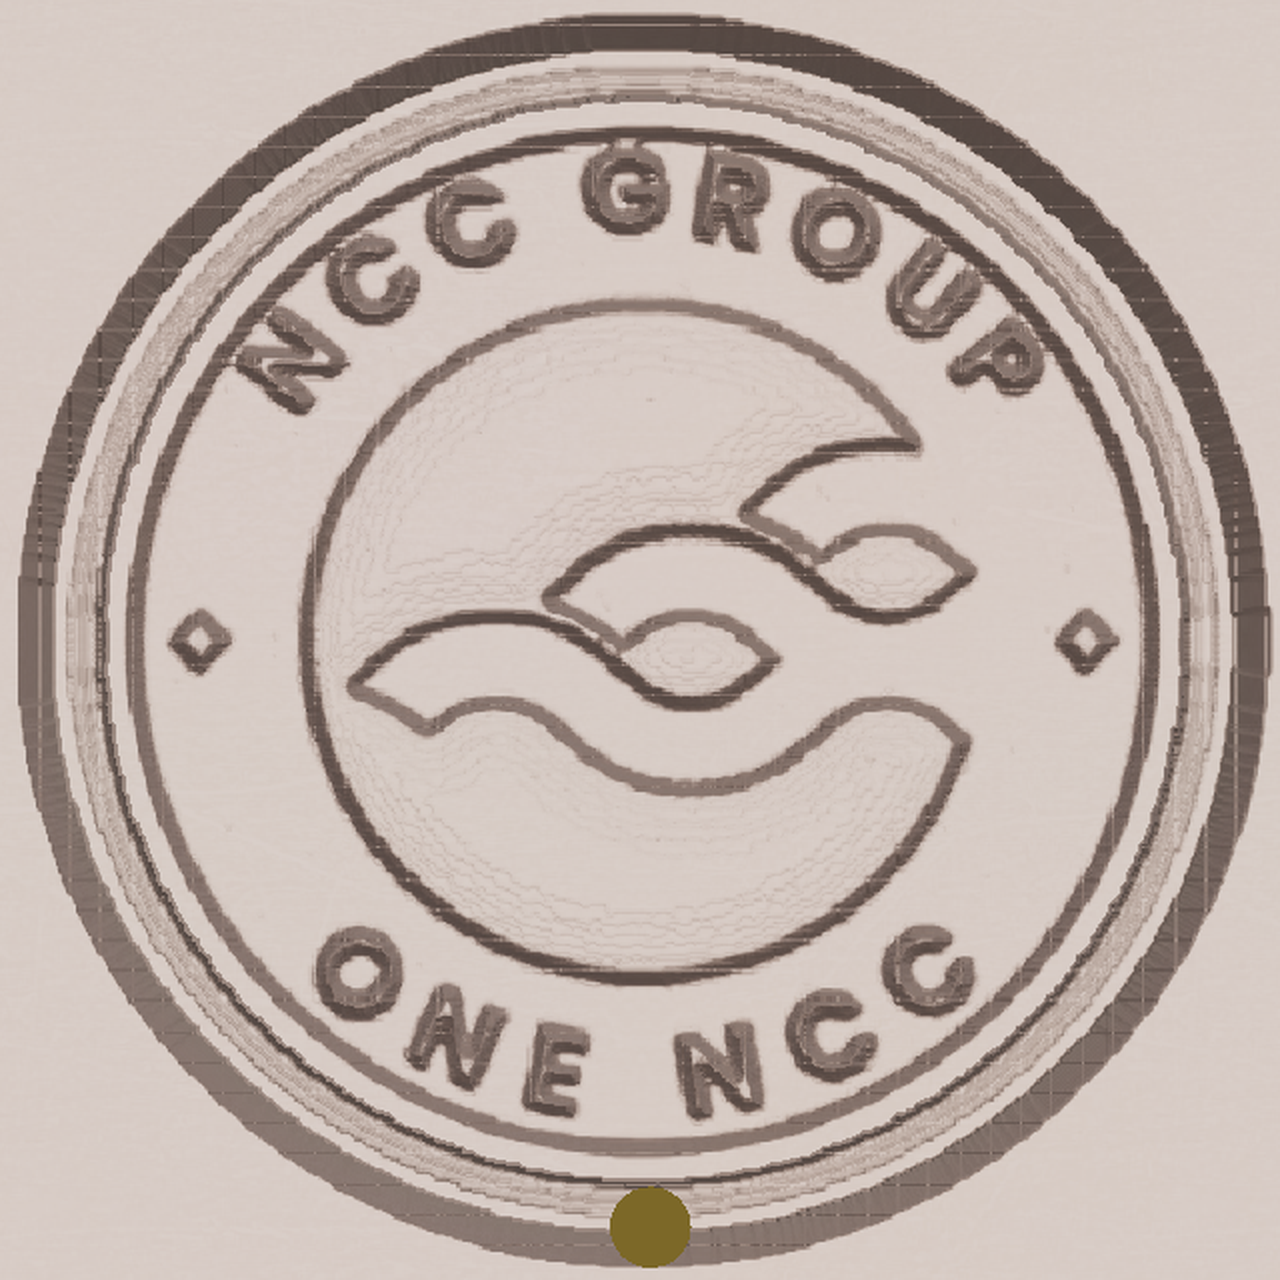
The simulator was helpful to me. With the 1.0 mm ball, the coin legends previewed as mush with rounded strokes, filled counters. With the 0.5 mm ball plus a 0.3 mm 30-degree engraving pass for the letter walls, they preview crisp. Now what this means is I really need to capture the first blanks at each stage to see how the simulation holds up.
Knurling without a knurl
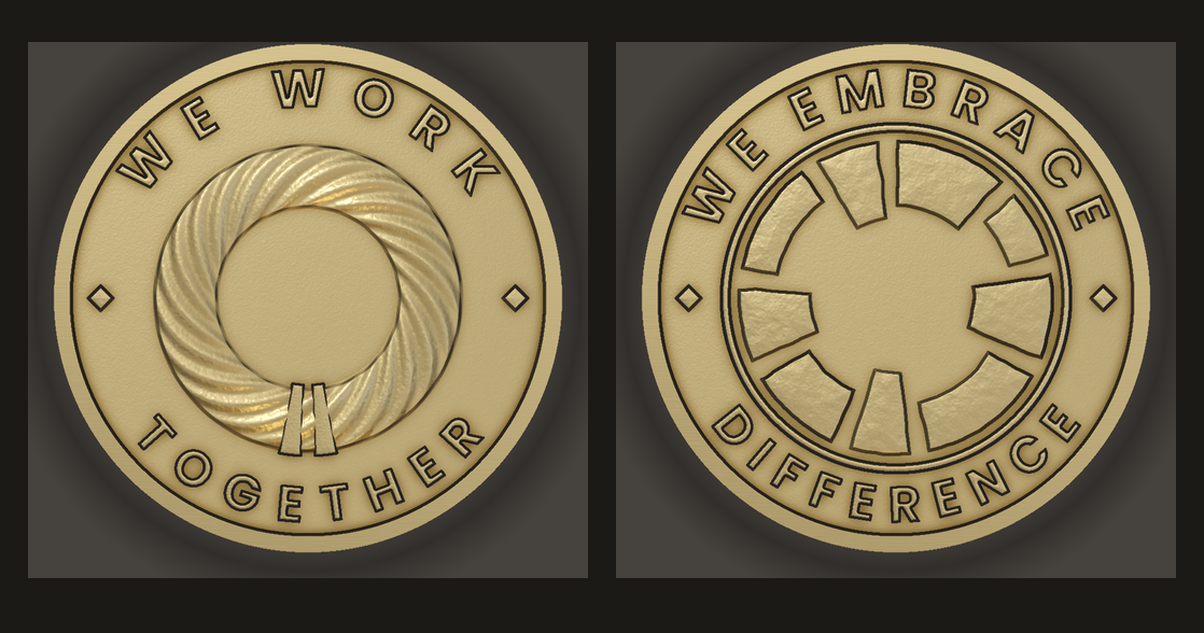
I wanted a knurled edge, but a 3-axis mill can't knurl (at least not with my current level of understanding). What it can do is follow any contour you give it. So the final cut-out pass doesn't follow a circle, it follows a polar sinusoid: r = 20 − 0.15 + 0.15·cos(40θ). Forty flutes, 0.3 mm deep, peaks exactly on the 40 mm diameter so the coin size is unchanged.
The one real constraint is curvature: the cutter can only reproduce a concave valley if the valley's radius of curvature exceeds the cutter's radius. At this pitch and amplitude the valleys sit at about 1.67 mm against a 1.0 mm cutter radius. Push the flute count higher and the endmill simply rounds them off - this was a fair bit of trial and error (and I suspect will be subject to a few more rounds of improvement once I've seen the first versions). The contour is a 40-line Python script emitting a DXF polyline; tabs hold the coin until the end, and the three interrupted flutes dress out after snapping.
Where the NCC set stands
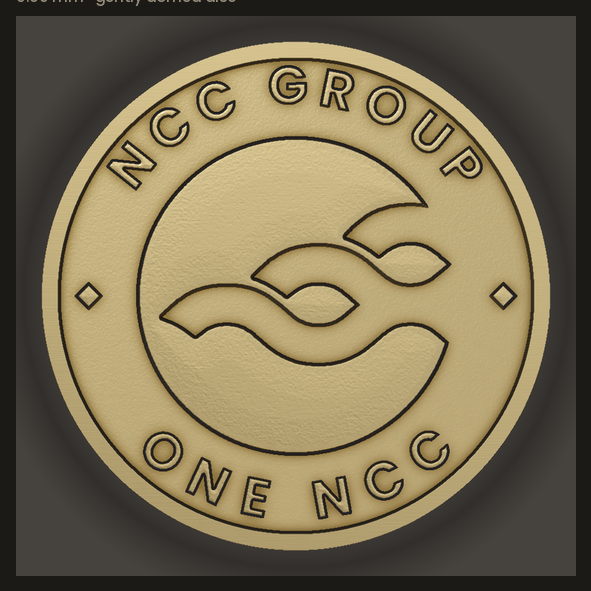
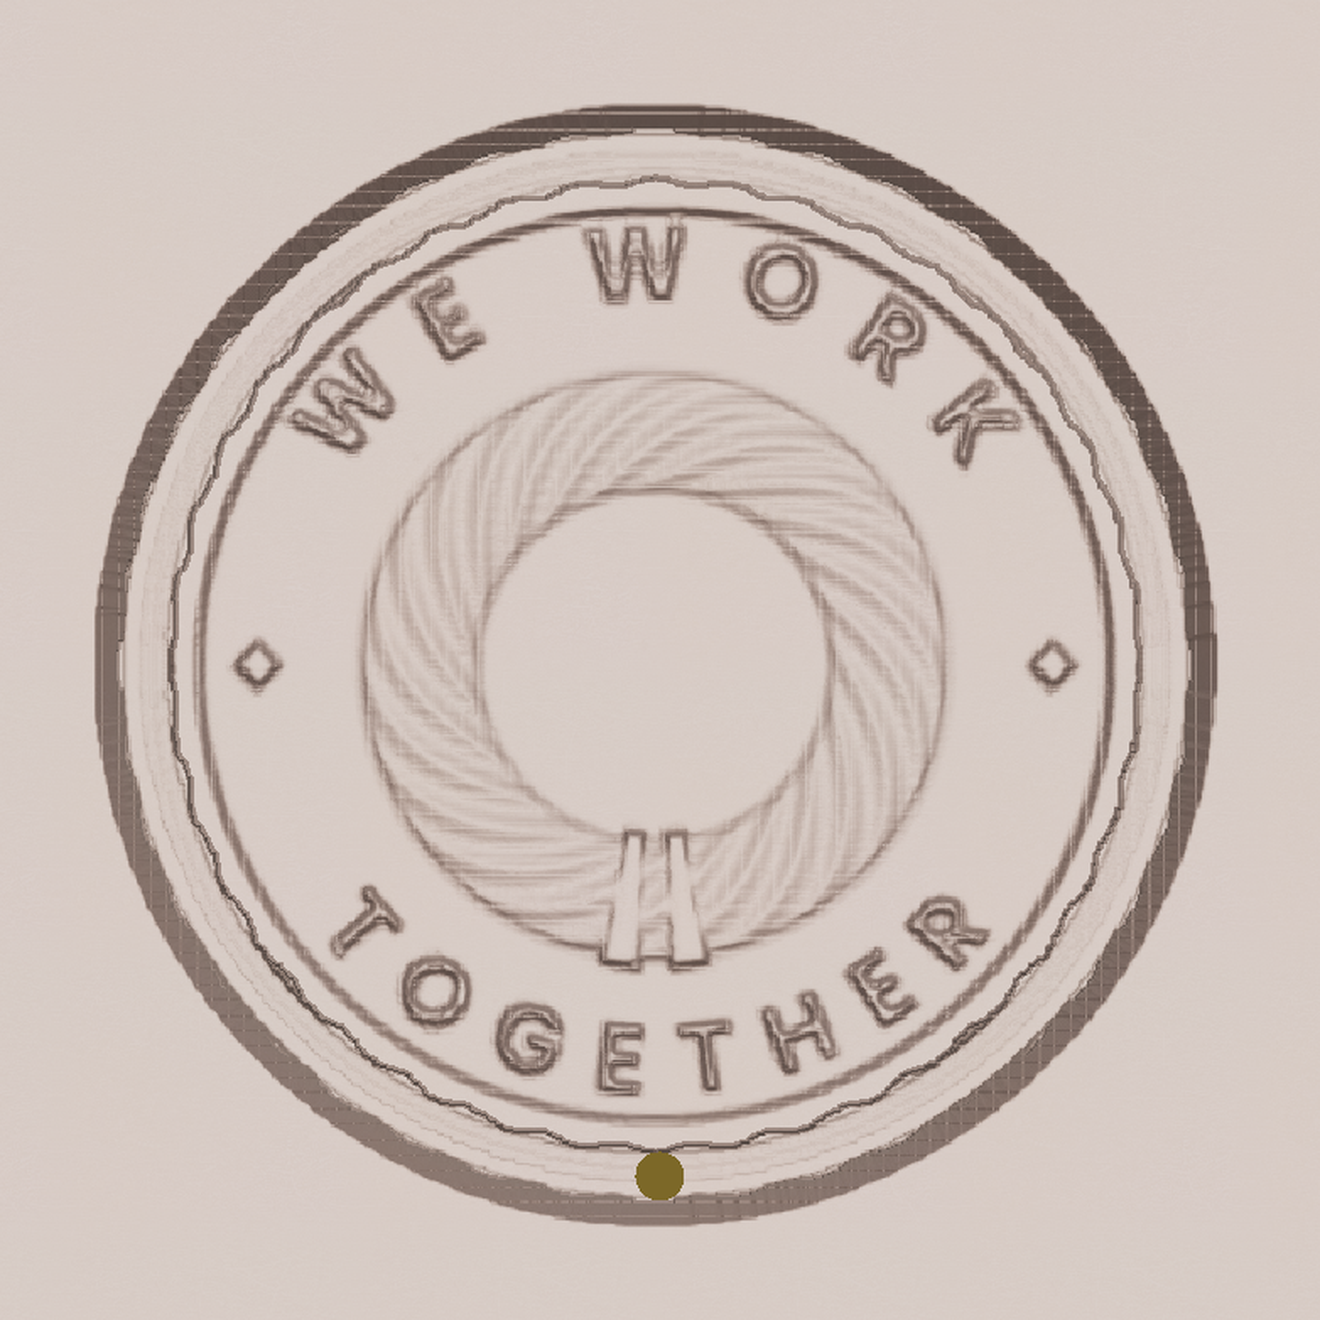
Both faces of the first coin are toolpathed and simulated: the obverse, and the WE WORK TOGETHER reverse with its rope grommet — rough with a 1.5 mm ball, finish with the custom 0.5 mm ball, engrave the detail, and on the second face, cut out through the reeded contour with auto-tabs. The flip needs no mirror arithmetic because every face is modelled about the blank centre: flip the stock, re-probe Z, run.
Next stop is real CZ121 brass, which is where simulations go to be humbled. Everything that makes this work on Linux — the Wine setup script, the login relay, the nested-display driving rig, and the Claude Code skill itself — is on GitHub: beLizzard1/makera-studio-linux.
Both faces, simulated — honest voxels rather than pretty renders:
A detour: treasure for the table
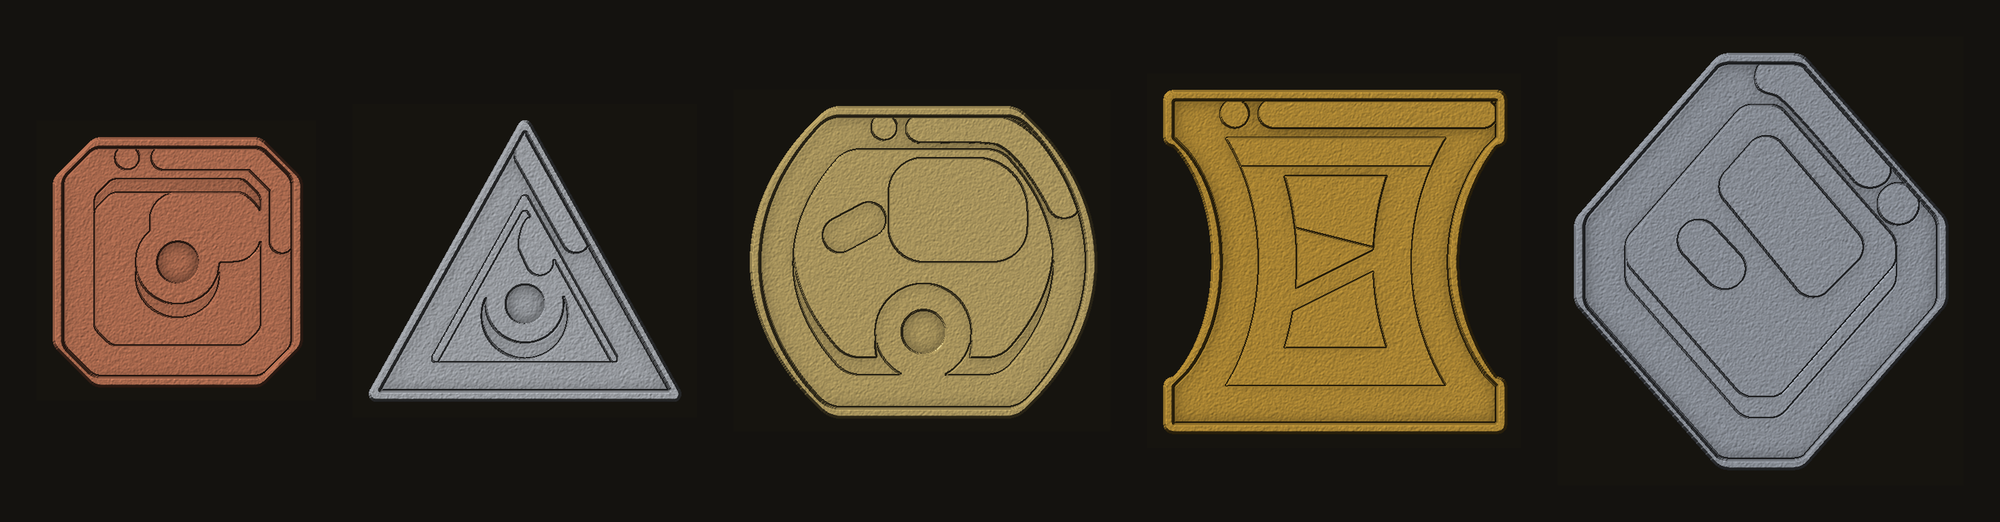
The other reason to own a desktop CNC is friends. Many of mine play tabletop RPGs, and a party that hauls its loot in real metal is a better party. So, next up: the five D&D denominations — copper, silver, electrum, gold, platinum — as physical pieces.
This set breaks every rule the corporate coin obeys, on purpose. The tokens aren’t round: each outline is the currency icon’s own silhouette — a gauntlet, a triangle, a shield, a banner, a lozenge — from 24 mm up to 36 mm across the tiers. And the relief comes straight from the flat-colour artwork: every palette colour in the icon becomes a machining plane, ranked by luminance in equal steps, so the painted shading turns into literal depth. A constant-width rim follows whatever shape the outline takes.
Because I’m not made of money, there is no actual silver or platinum: three cheap metals play five. Copper stock for copper. Aluminium finished bright for silver and deep-blasted for platinum. Brass lapped pale for electrum, and given the full patina-then-lap treatment for gold — near-black fields with a blazing device. Three bars of metal, five convincing denominations.